7 minutes read
Just a few days ago, Mozilla announced a new Web API called FlyWeb that enables web pages to host web-servers that can expose their services to nearby browsers. With FlyWeb one can easily create discoverable services. Unlike with traditional HTTP users aren’t actively searching for services or content but instead let their browser accept mDNS announcements sent from nearby servers that implement the FlyWeb API. A server implementing this API is equally capable to deliver web pages like any other but it doesn’t have a DNS entry or IP address. Instead, certain announcement packets will be sent after the user has accepted to create and advertise local FlyWeb servers. These packets contain needed records (PTR, SRV and A) so the server can be found and accessed properly. It’s possible to run many of such servers and all of them will have different record data but the PTR name will always end with _flyweb._tcp.
To learn about this interesting piece of tech I created a project hosted on GitHub. It contains a simple FlyWeb server and a complete WebApp based on RactiveJS. It is written in TypeScript and builds with WebPack. To make the exploration of the API easier I’ve created a few interfaces that follow the WebFly Spec. I think it’s always of advantage to have a working intellisense while exploring new APIs.
The WebApp comprises of a single tab with links to tree tables: GitHub Emoji List, GitHub Event List and Northwind Customers-Table
There’s also a working demo of the app served via FlyWeb. Of course, this app is only the ‘app‘ part of the complete environment and contains no FlyWeb server. It should only show you that’s possible to serve complete web apps via FlyWeb.
Initial Setup
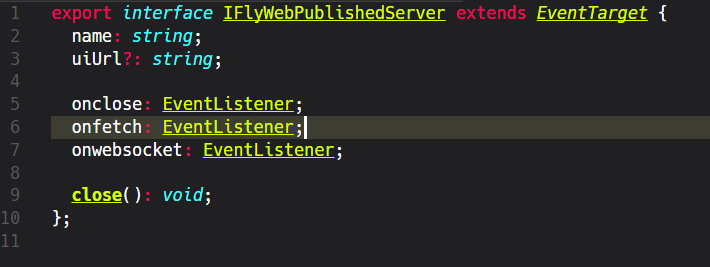
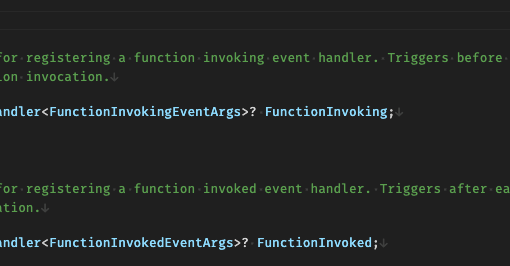
The source code comprises of two parts located within the src directory: init and app. Our server logic is located in init/main.ts and its sole purpose is to deliver the web app by responding to certain GET requests. The function that kicks off everything is called publishServer and our browser must implement it to be able to provide WebFly servers. Currently, only Firefix Nightly implements the WebFly Spec. This is how we define this interface in our TypeScript code.
There are more event handlers available but currently we’re only interested in starting the app and letting it run on its own.
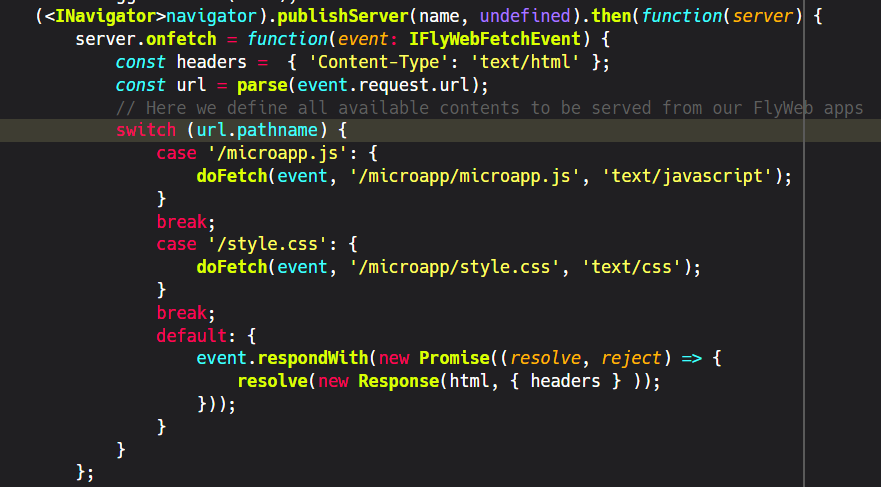
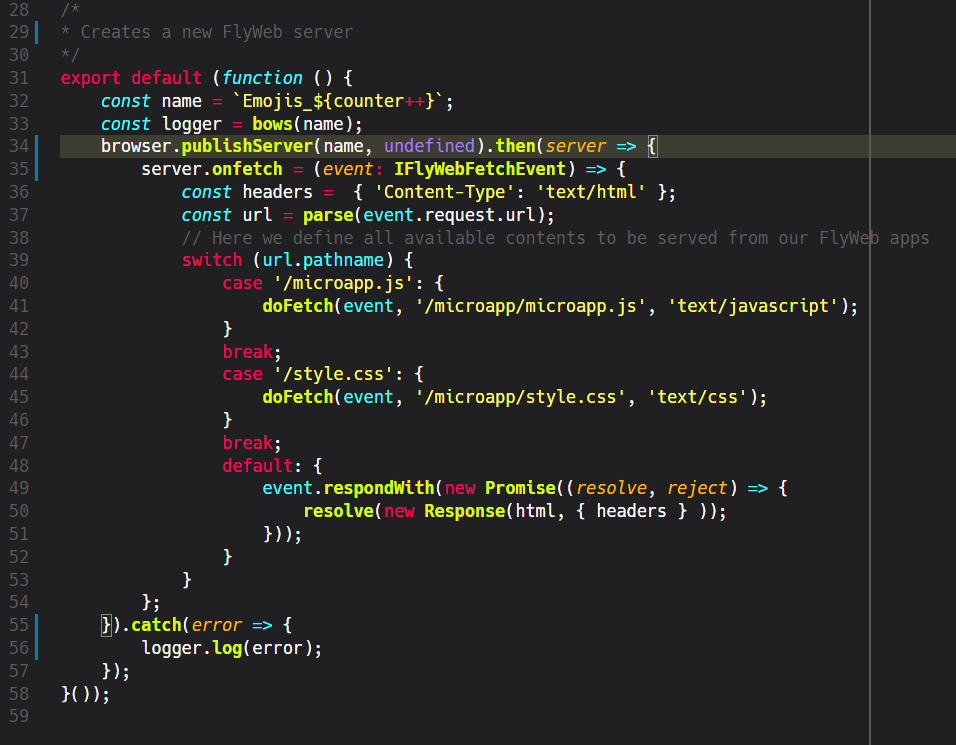
A successful publishedServer will return an object that implements the onfetch method containing a switch statement. This is the place where our server reacts to GET requests by returning documents that constitute the web app itself. We’re here effectively establishing a web server that’ll server our web app. Therefore, we must teach it to provide needed documents that contain JavaScript code and markups needed to instantiate this web app.
Our app comprises of several components for creating tables and other widgets. We use a really nice, open-source plugin called jquery.dataTables to generate our tables. To get some interesting data for our rows we query GitHub APIs and the old-school demo database called Northwind. The JavaScript framework used to provide the app structure and templating is Ractive.
Helpful interfaces and DTOs
To make the API exploration easier I’ve created a few interfaces to describe the important players in this game:
FlyWeb
- Standard Navigator interface was expanded to support publishServer
- The FlyWeb PublishedServer interface that represents the returned server object from publishServer
- The FlyWeb PublishOptions for more detailed control of the server
- The FlyWeb FetchEvent for managing HTTP request/response objects
- The FlyWeb SocketEvent for managing WebSocker request/response objects
Router
- Page interface describing the Page.js page object (in case you want to add routing capabilities to this app)
External APIs
- A complete mapping of all available GitHub Emojis
- GitHub Event API interfaces
- Northwind DB interfaces
Globals
- All of the styles and external libraries (bootstrap, jquery.dataTables etc.) are located in this file.
- The app starts in src/app/main/microapp.ts by loading the global dependencies and initializing a Ractive instance.
Running the App
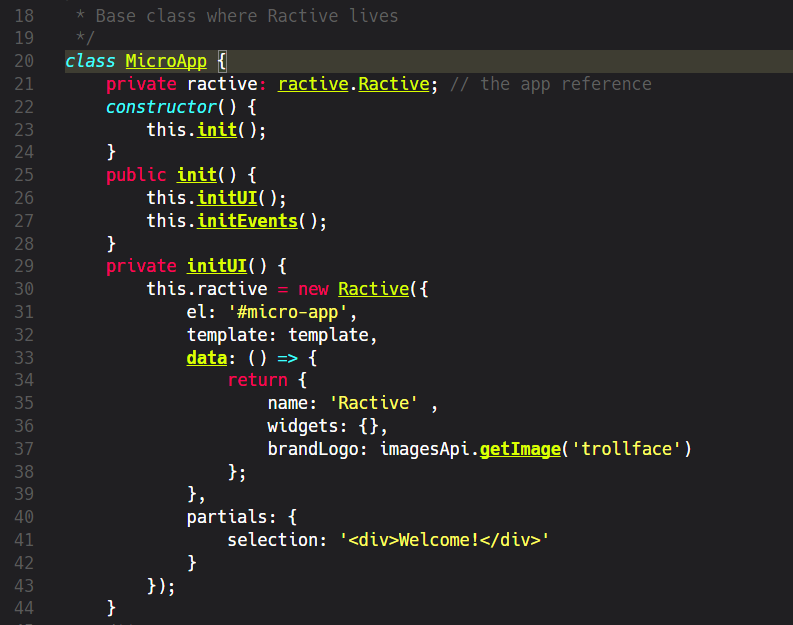
Our app starts relatively simple by defining some globals, like styles and plugins, and the instantiates a single Ractive instance that’ll contain the whole logic and all of the available widgets.
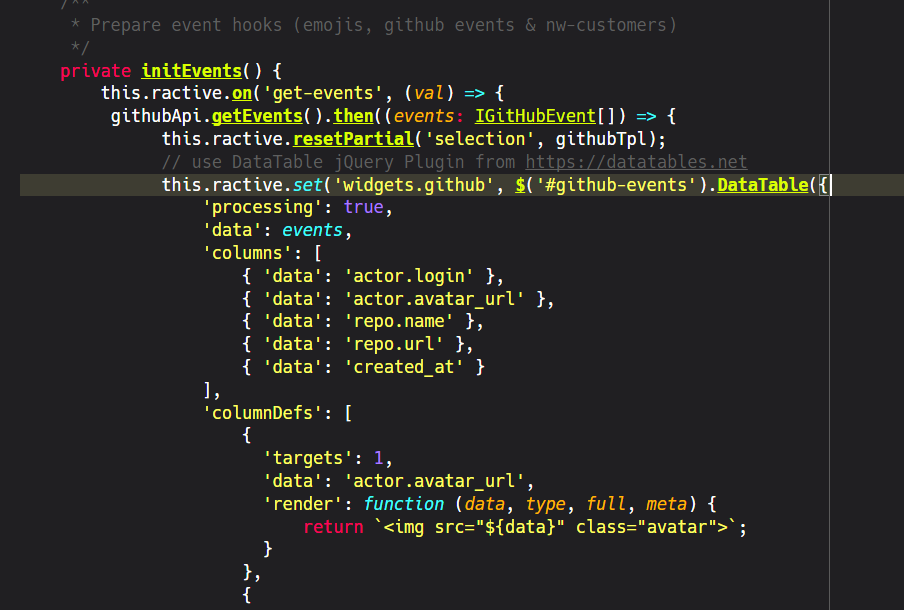
After being initialized the app will define several event handlers which’ll take care of loading appropriated jquery.dataTable objects and filling them with data. Each event handler is tied to a particular API which will deliver strongly typed data for further processing. The above code shows how we react to incoming data from GitHub by calling the jQuery DataTable-plugin and providing it a configuration object that describes its structure. The events come from the Ractive framework itself and are defined in a partial that belongs to our main Ractive instance. More info on partials in general can be found here. For now, just think about them as template snippets with some extra powers. 
In the above code we see three separate definitions for events of type on-click. These are called template directives in Ractive lingo. The value on the right is written in a special Ractive syntax and defines what functions have to be called upon this directives’ execution. As we see it’s possible to execute more than a single function in a row. In our case we always fire a cleanup event before proceeding to the actual work by calling one of the available APIs. For example, if we click on the first option (Emojis) we’ll first cleanup everything that’s currently visible on the UI and then fire a get-emojis event. This event then gets processed by this function that queries the GitHub Emoji API and creates a new table. The three available tables also have their own partials that describe their structures.
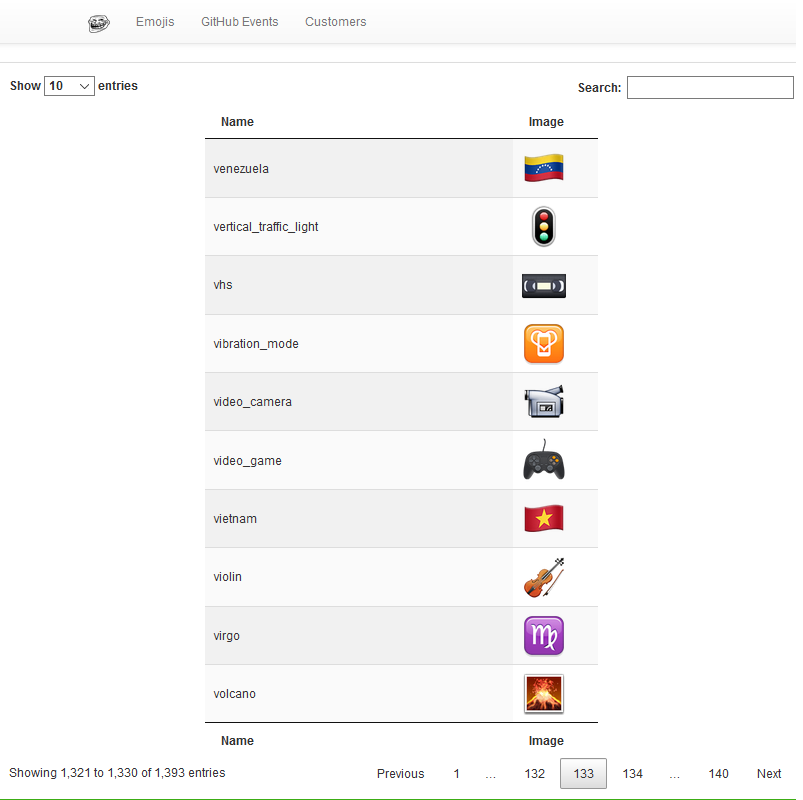
This is, for example, how the Emoji list would look like in a table.
The heart of the app is located in src/app/main/microapp.ts where the Ractive component lives. The APIs are located under src/app/apis.
To compile both parts of the project we use WebPack and its configuration files located under the config directory.
As these both parts are relatively independent from each other (the WebFly server knows only very little about the apps being served) we have to use two separate commands to compile them.
To compile the server use yarn run build or npm run build
To compile the web app use yarn run build:microapp or npm run build:microapp
Also take care of compiling the server first as its build script always deletes the whole dist directory which also contains the app scripts in the microapp directory.
Playing with FlyWeb
FlyWeb enables true device-to-device communication without any intermediaries, like DNS servers, or complex stateful networking, like TCP/IP. All it takes is a permission to accept and create WebFly servers. There’s no need to be on a TCP network or to have an IP address. To be found by a nearby device you only have to be sending certain packets describing your service via mDNS over the stateless UDP protocol. The world of the internet comprises of servers waiting to be “discovered” by clients and there’s, of course, nothing wrong with it. But what if you want to exchange data between your smartphone and Raspberry Pi? Do you really need to create some internet-like mini-network just to send a few packets? It makes a little sense to create mini-internets for such use-cases. Also, if you want to serve some web apps do you really need a complete web server? This was my first reaction when I discovered FlyWeb. I thought it would be nice to have some kind of ‘landing page’ where users could select additional services delivered as complete web apps we all know and love.
Have fun!
