9 minutes read
In this article we’ll compile and configure a full Bitcoin Core Node that runs on a Raspberry Pi 3. “Raspies” are tiny computers that can run various OSes, like Linux, or Windows IoT Core. We’ll install Linux by using the NOOBS installer, which provides a Debian-based distribution called Raspbian.
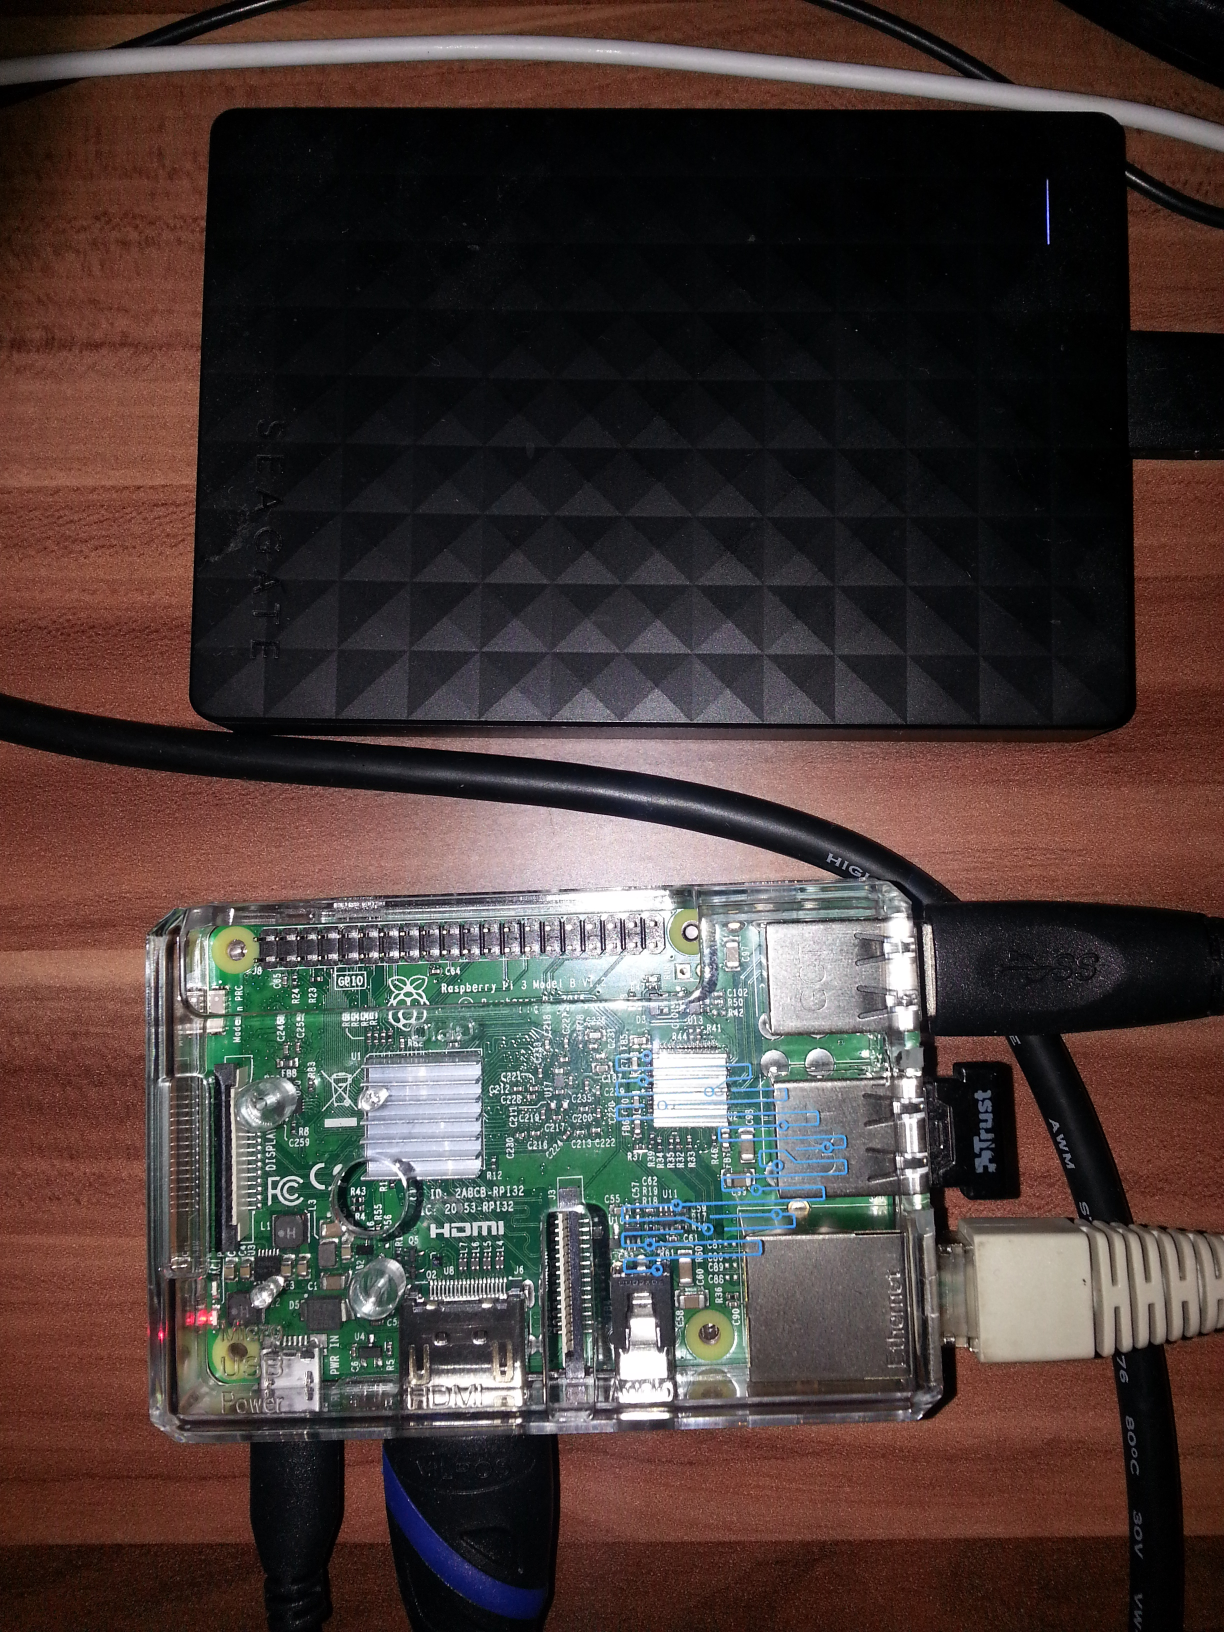
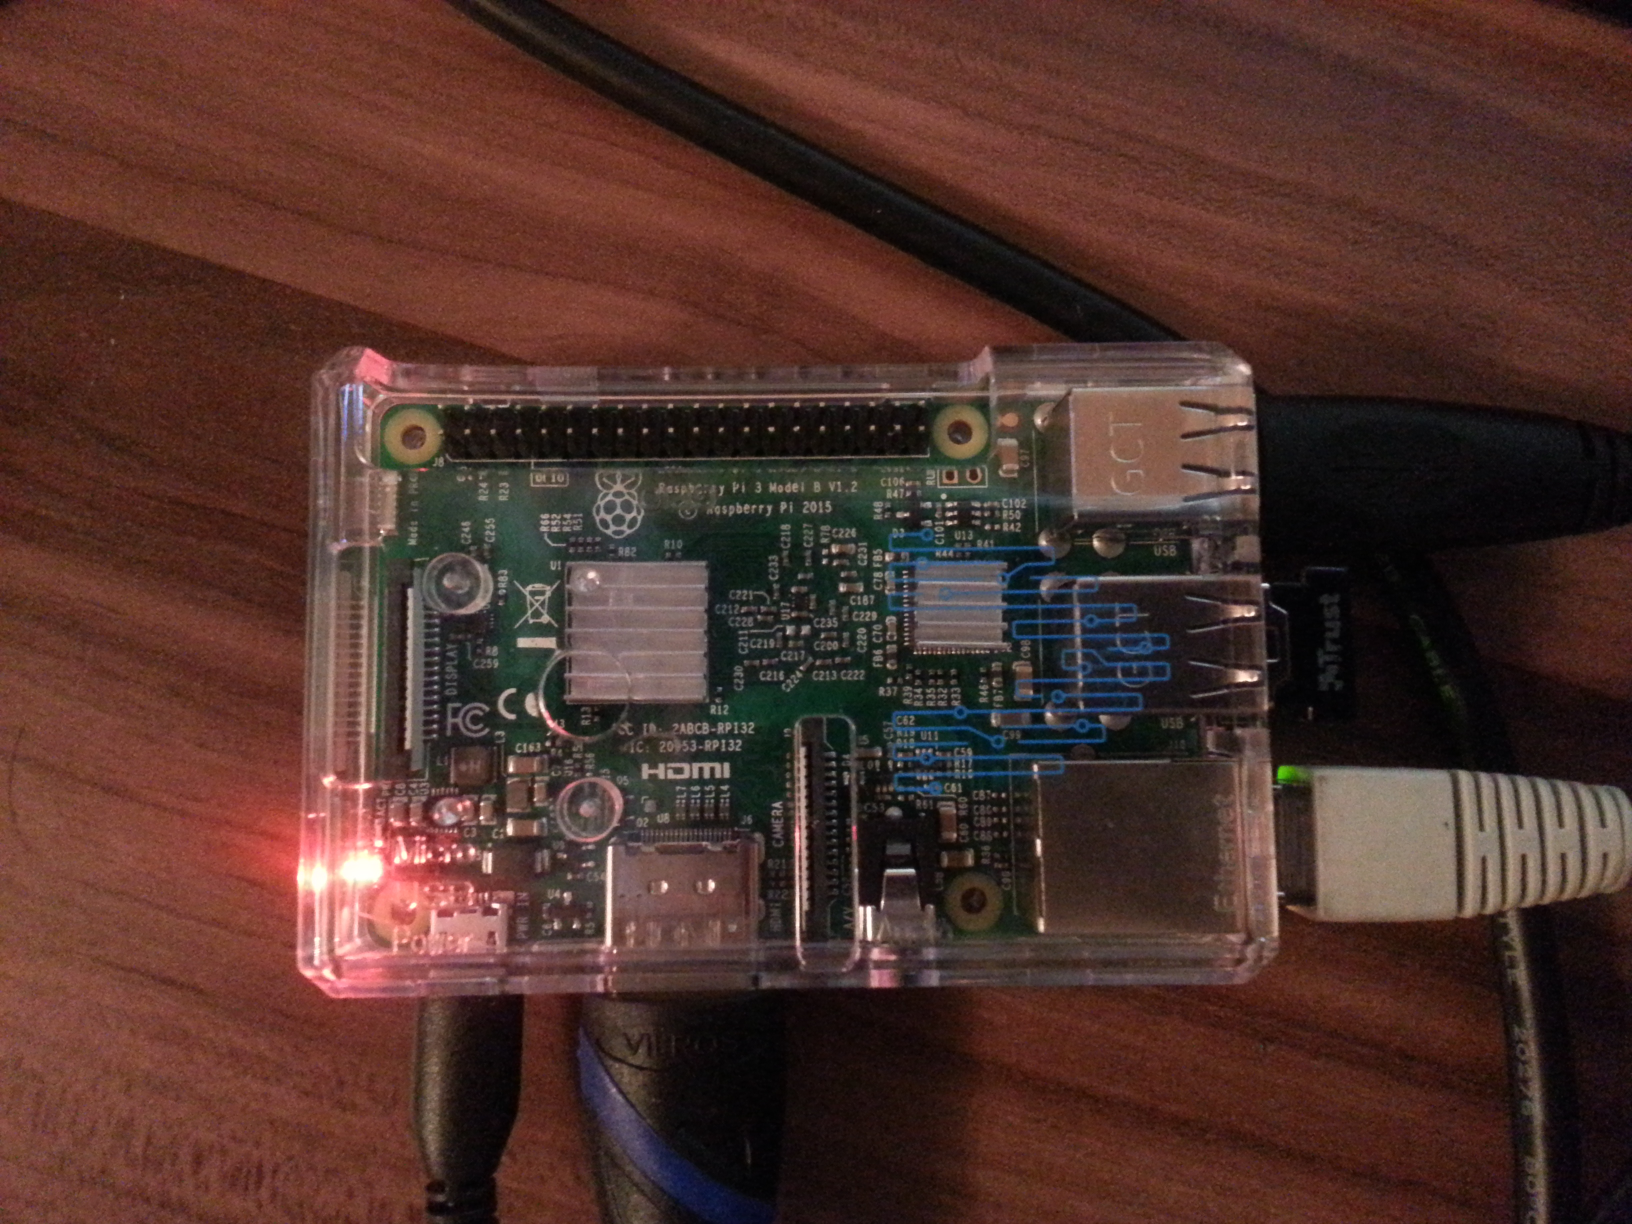
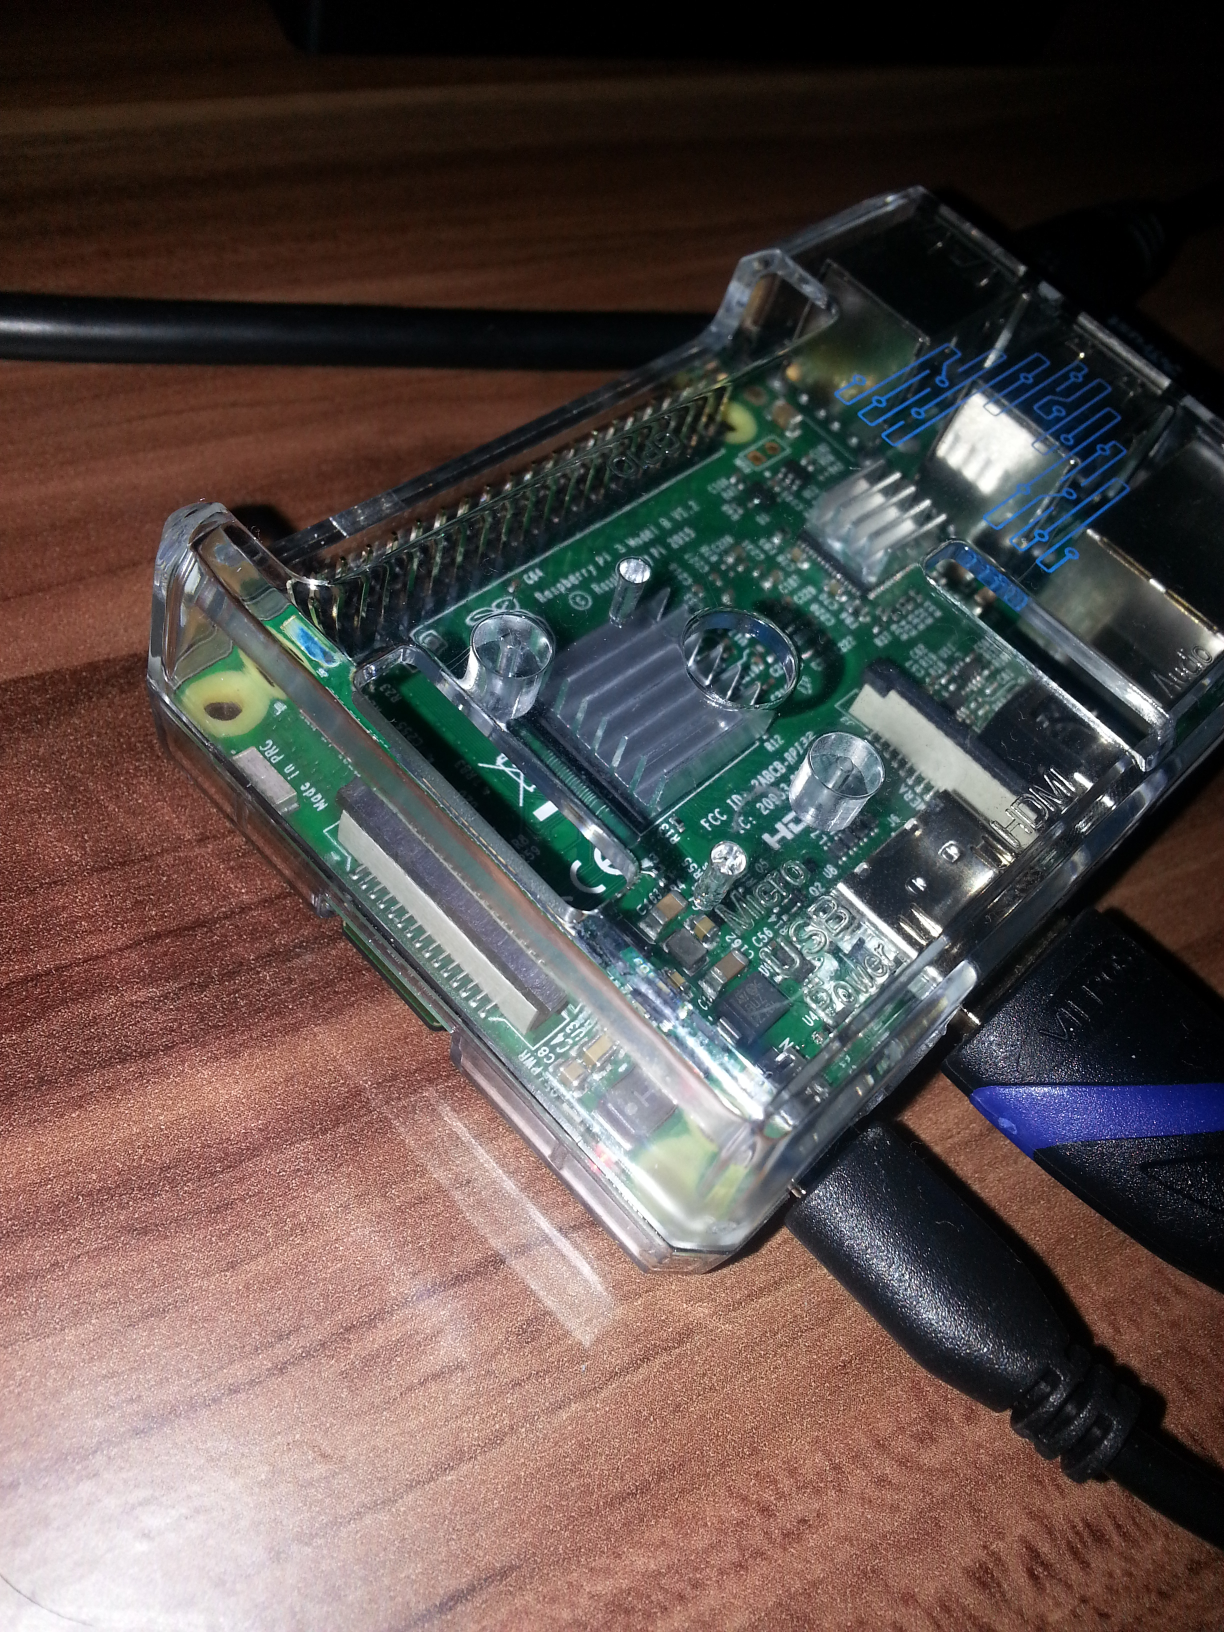
Here are a few photos of my Raspberry node:


You can download my scripts and config files here.
But before we jump into the game let’s write down all the needed hard- & software parts, and their respective links.
Hardware
Software
- NOOBS with Raspbian Linux distro
- Bitcoin Core sources
- Compiler Toolchain (GNU C++ & libraries)
- SD-Memory Card Formatter for Mac & Windows
Hint: I am in no way affiliated with companies/re-sellers behind those links. They’re here for your convenience only. You can buy those items elsewhere.
Installing Raspbian
The first step towards our full node is a properly formatted SD-Card which should contain the initial NOOBS files. And because Raspberry expects us to provide a FAT32 formatted disk we have to take care of this first. If you have a Mac or Windows, just use the GUI-based Memory Card Formatter from above. Linux users could either use some of the functionally similar GUI-tools like gparted, or console-only tools like parted. As the GUI-based software is pretty self-explanatory (just delete existing partitions from SD-Card an create a new fat32 partition that consumes all available disk space), we’ll concentrate on parted only.
- Plug in your SD-Card and type lsblk to list all block devices.
- Look for the device name that’s of the same size like your SD-Card. We’ll format this one.
- Type sudo parted /dev/sdX (replace X with your disk’s letter)
- In the newly started parted CLI type mklabel msdos
- Then create a single primary partition with mkpart primary fat32 1MiB 100%
- Make it bootable with set 1 boot on
- Exit parted with quit
Lastly, format your SD_Card with sudo mkfs.vfat /dev/sdX (and again, don’t forget to set the correct letter instead of X)
The next step is the extraction of the downloaded NOOBS-Zip file to your SD-Card. There’s nothing else to be done. Just upack the files and insert the SD-Card into the appropriate slot on your Raspi. Connect all the cables (power, monitor, network) and wait until you see a window like this:

In our case we only have to select Raspbian. but Now click the icon Install above the list and wait for the installation process to complete.
When it’ finished you’ll get the info that the system has been successfully installed, and now you have to reboot your Raspi. 🙂
By default, Raspbian boots into a desktop which is convenient in many cases, but not much needed if you’re only running a full node. However, some of you might still want to use the desktop, so I’ll let you choose the “right” way to operate a Bitcoin full node. If you don’t need desktop then type sudo raspi-config and change the boot option from Desktop to CLI. You can also reclaim some graphics memory by selecting Advanced Options/Memory Split. Just enter 0 there and you’r Raspi won’t have to reserve those MBs anymore.
But regardless if desktop or not, in both cases we have to download Bitcoin Core sources and compile them. But before we begin, let’s update our current installation first:
- sudo apt-get update -y
- sudo apt-get upgrade -y
This will take some time and in the end you’ll have a fully updated OS and its libraries. These commands should be executed from time to time.
Compiling Bitcoin Core – Preparation
After having updated the OS we’re now ready to download and compile Bitcoin Core.
- Create a src directory within your /home/pi by typing mkdir src
- Go to src with cd src and type git clone https://github.com/bitcoin/bitcoin.git to get the current sources
- Afterwards, select the current stable branch with git checkout 0.15.1 [this will change in future, so adapt it accordingly] ->> git branch shows you all available branches
- Install mandatory packages (compilers, config-tools, libs etc.) with sudo apt-get install build-essential libtool autotools-dev automake pkg-config libssl-dev libevent-dev bsdmainutils python3
- Install Boost Libraries with sudo apt-get install libboost-all-dev
Compiling Berkeley DB for Wallet-Functionality [optional]
This step is optional as you’re not required to run your node with wallet support.
Go to src/bitcoin and type those three commands separately:
- BITCOIN_ROOT=$(pwd)
- BDB_PREFIX=”${BITCOIN_ROOT}/db4″
- mkdir -p $BDB_PREFIX
The above shell environment parameters will be needed to install the Berkelerley DB, and to properly configure our upcoming Bitcoin Core compilation environment. Now the next step is to download Berkeley DB sources and compile them accordingly. This is a straightforward process and you should simply copy & paste this myriad of commands:
- wget ‘https://download.oracle.com/berkeley-db/db-4.8.30.NC.tar.gz’
- echo ’12edc0df75bf9abd7f82f821795bcee50f42cb2e5f76a6a281b85732798364ef db-4.8.30.NC.tar.gz’ | sha256sum -c ->> this must return an OK
- tar -xzvf db-4.8.30.NC.tar.gz
- cd db-4.8.30.NC/build_unix/
- ../dist/configure –enable-cxx –disable-shared –with-pic –prefix=$BDB_PREFIX
- make install
We now have compiled and installed our Berkeley DB. This makes the wallet functionality possible. 😀
Compiling Bitcoin Code – Configuration & Installation
- First, we go back to src/bitcoin with cd $BITCOIN_ROOT
- Then we execute ./autogen.sh to create our configuration files
After we’ve created those scripts we have to tell them which functions our Bitcoin Core should support. For example, if you don’t want a GUI to be available you’ll use the parameter –without-gui. If you’re not interested in automatic test execution, which takes a certain amount of time, you’ll insert –disable-tests and so on. There are many other options available. Just enter ./configure –help for more information.
In our case, as we’re running a console-only full node, we’ll create a configuration with these options:
./configure LDFLAGS=”-L${BDB_PREFIX}/lib/” CPPFLAGS=”-I${BDB_PREFIX}/include/” –without-gui –disable-tests –with-miniupnpc –enable-upnp-default
The configuration script will take a few moments to complete, and if everything goes well your next command will be: make -j2
This kicks off the compilation which is a lengthy process…have patience.
Ultimately, the make command will have successfully completed all of its tasks, and the last step for you is to install Bitcoin Core with: sudo make install
Getting the Blockchain (because waiting for a complete sync is too hard these days)
Most of the Bitcoin installation tutorials, regardless if Raspberry or something else, end at this point and leave the reader alone with the burden of getting the blockchain files. And this can get frustrating very quickly. Today’s blockchain is a beast that consumes more than 150GB and no one would like to spend countless hours of searching, updating, and encountering different problems. So, just to save your time & nerves I’d recommend you to follow the below recipe that I’m using for my own nodes as well:
- Format the external HDD as an ext4 filesystem. Use gparted or parted, analogous to the example from the beginning.
- Mount your HDD and insert a proper /etc/fstab entry. In this article I’ll refer to it as /media/data
- Give yourself the full access to /media/data with chown -R pi:adm /media/data
- Connect the HDD via USB with your Raspi.
- Install transmission-cli Torrent Client with sudo apt-get install transmission-cli -y
- Go to getbitcoinblockchain and download the two torrent files: blockchain.torrent and update.torrent.
- Download blokchain torrent first with transmission-cli -D -u 0 -w /media/data/Downloads blockchain.torrent
- Download update torrent with transmission-cli -D -u 0 -w /media/data/Downloads update.torrent
- Move the contents of the blockchain directory to your preferred bitcoin path. For example: move -fv /media/data/Downloads/blockchain/* /media/data/bitcoin
- Do the same with update contents: move -fv /media/data/Downloads/update/* /media/data/bitcoin
Now you have an almost complete blockchain. The latest blocks will be downloaded by the node when it starts, but the advantage is that it wouldn’t have to download all of them beginning from January 2009. 
Configuring & Starting the Bitcoin Core Daemon
Your Bitcoin Core Daemon needs a proper configuration which, by default, is located under ~/.bitcoin/bitcoin.conf. However, as we’re running on a little device, and our SD-Card already carries an OS around, we want our Bitcoin Core to use the external HDD instead. This was the reason why we’ve unpacked the blockchain & update contents to /media/data/bitcoin.
Here’s my bitcoin.config just to help you start as soon as possible. However, please, consult the Docs for more information as I’m sure that sooner or later you’ll want to tweak your node for a bit.
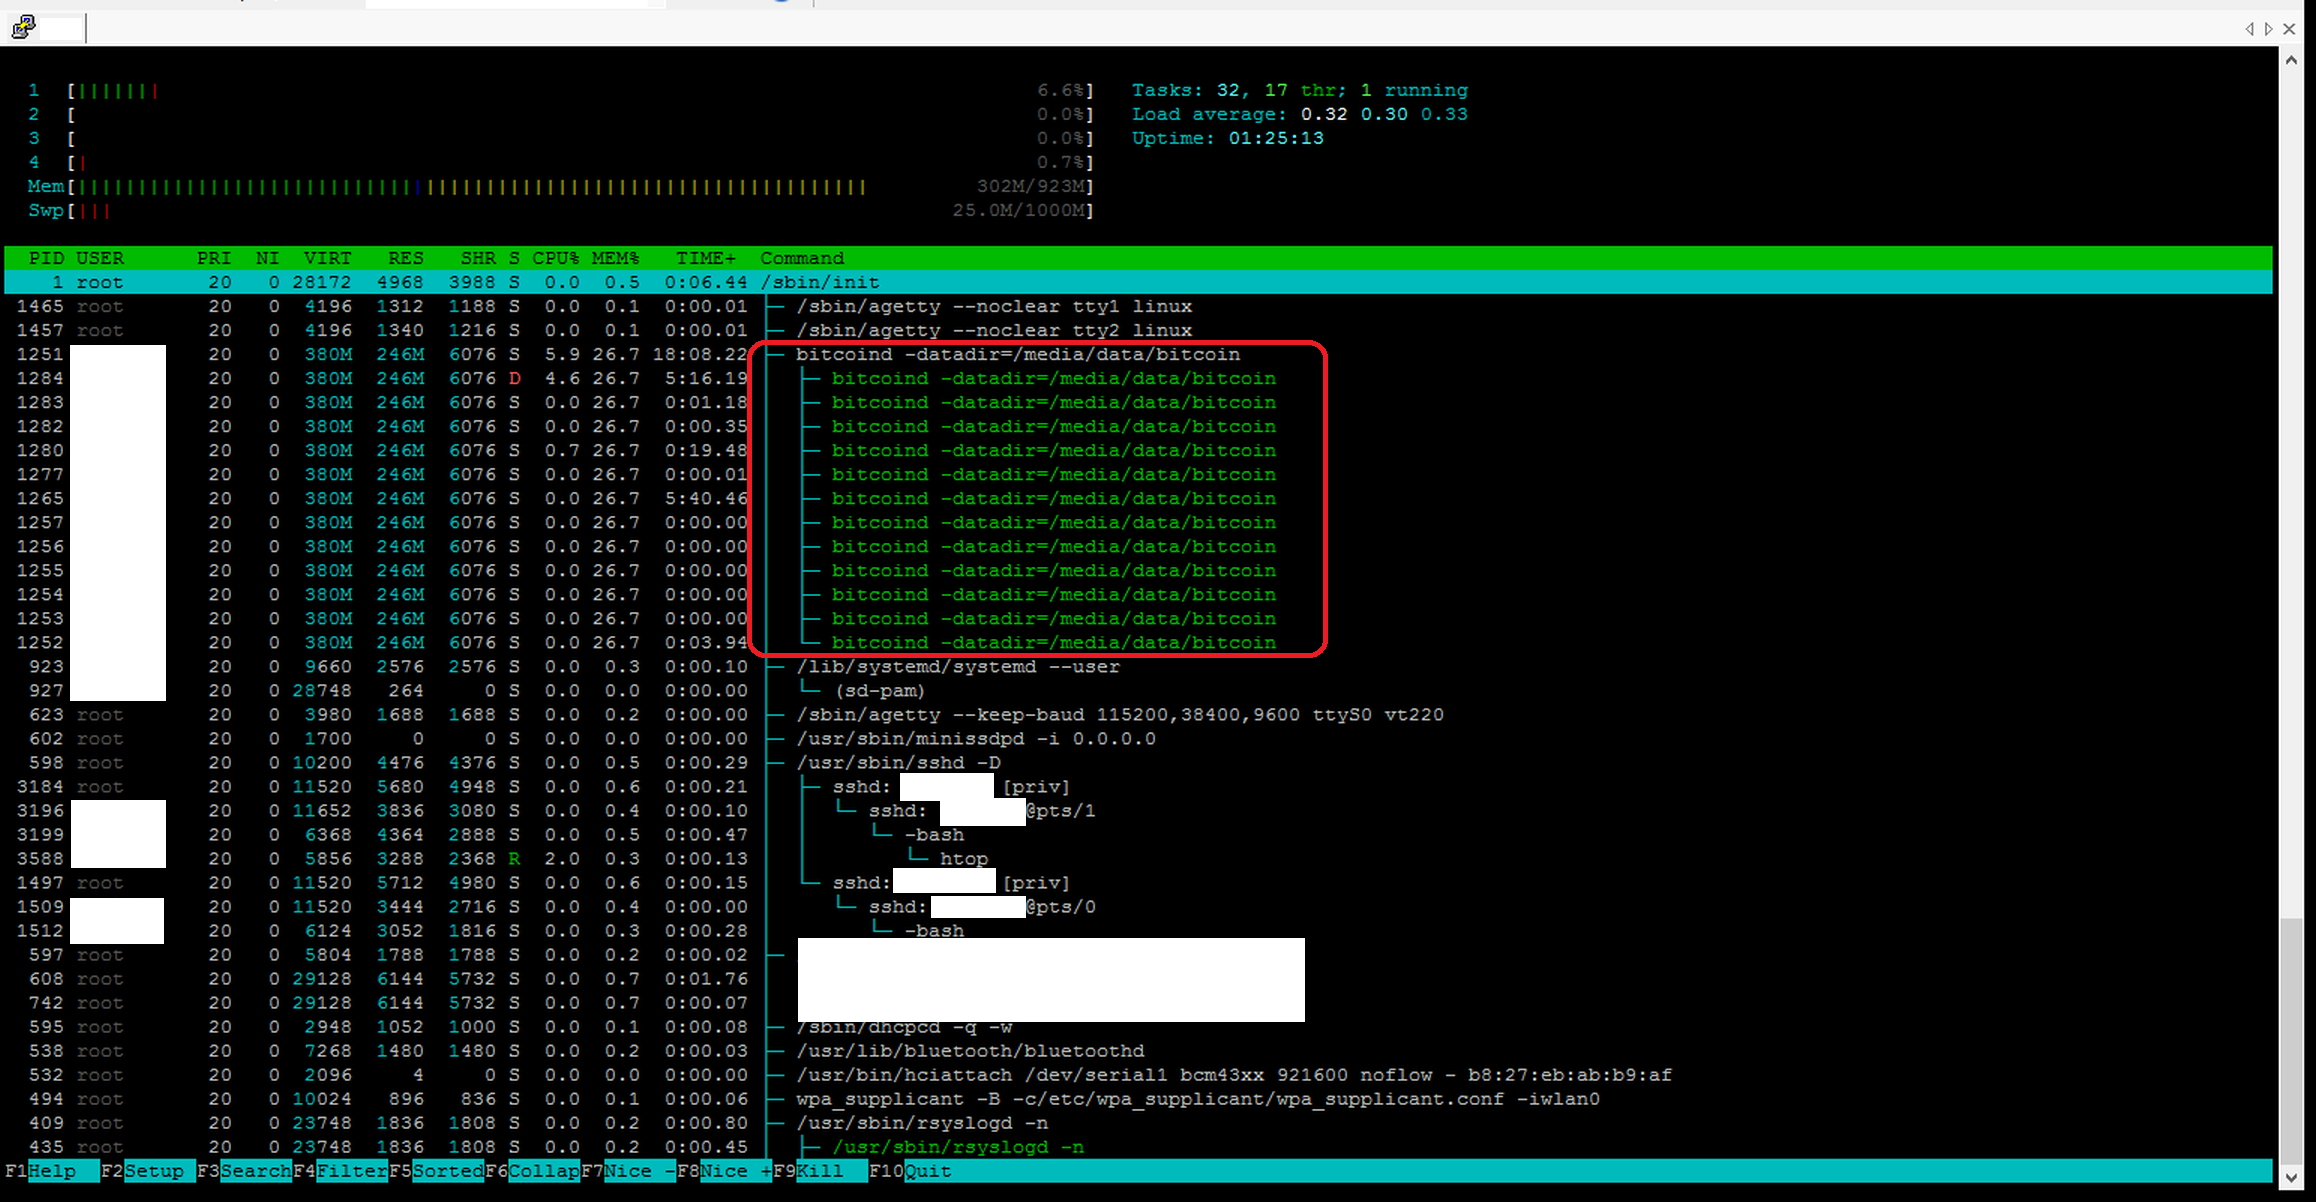
Now comes the moment of truth. We have to start the Bitcoin Core daemon by giving it the location of the datadir where our config and blockchain files reside:
bitcoind -datadir=/media/data/bitcoin
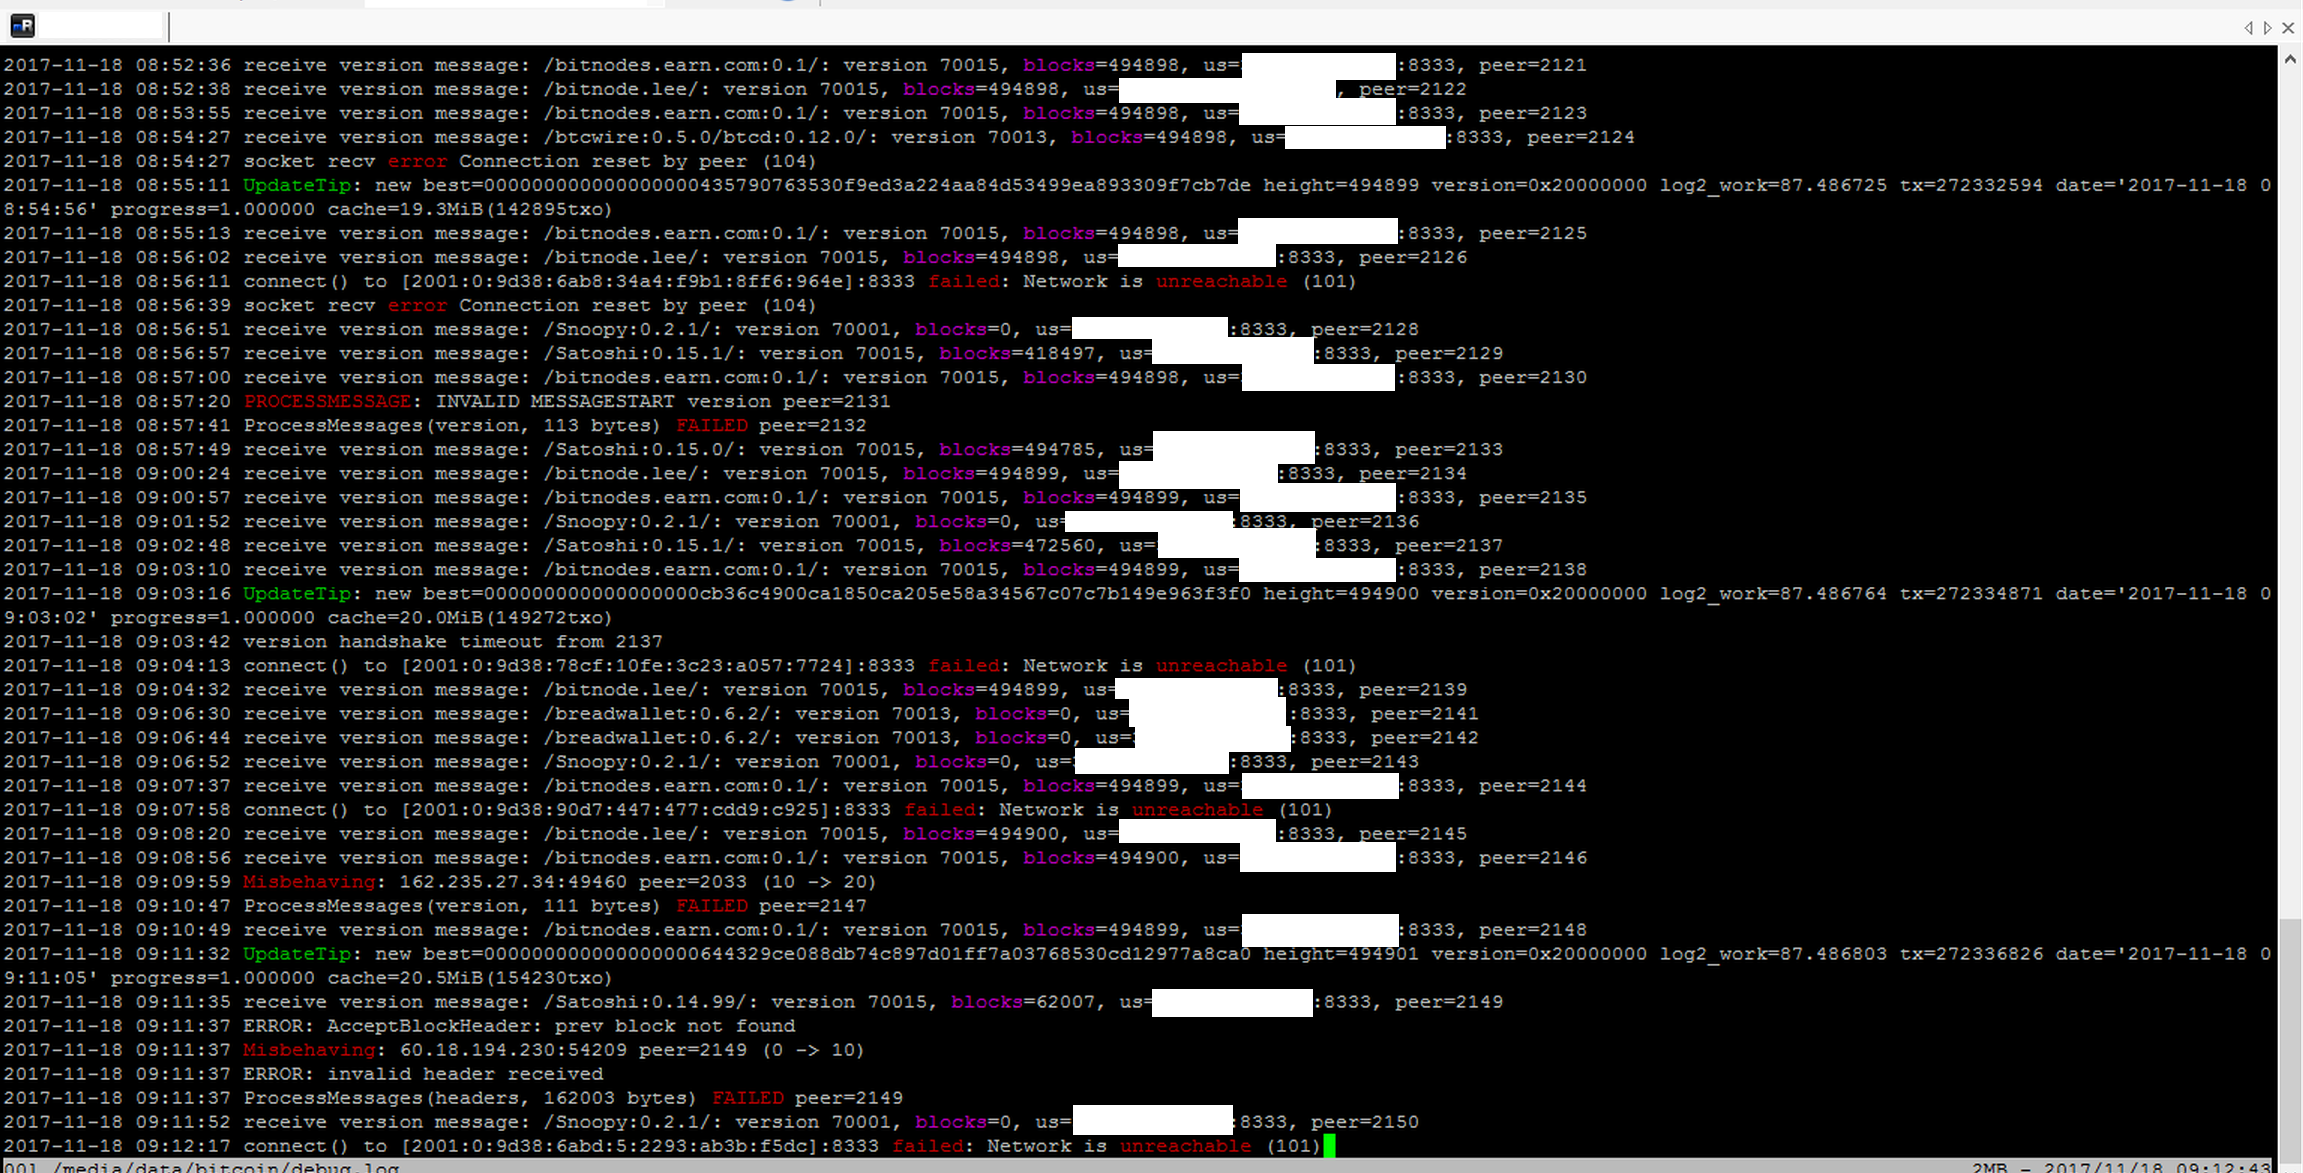
You can get the current status by reading the default log file that is located in datadir as well: tail -f /media/data/bitcoin/debug.log
There’s also bitcoin-cli, the command line interface that communicates with the daemon. To get the network information you’d type:
bitcoin-cli -datadir=/media/data/bitcoin getnetworkinfo
As the CLI offers many powerful commands & options you should definitely consult the docs.
Remember to always add the datadir. Without this parameter the CLI would try to find its config under your home dir which will lead to an error message stating that there’s no proper user/password available to access the RPC functionality of Bitcoin daemon.
You can also check the status of your node here.
Well, this is it. Have fun with Bitcoin! 😀

8 thoughts on “Running a full Bitcoin node on Raspberry Pi 3”
I’m stuck at
git checkout 0.15.1
fatal: Not a git repository (or any of the parent directories): .git
Hi,
If you have cloned the repo with “git clone”, then do a “git fetch”, then “git checkout 0.15.1”.
Regards,
First, thanks a lot for the guide!
On this specific question, we did clone, following the instructions:
“Go to src with cd src and type git clone https://github.com/bitcoin/bitcoin.git to get the current sources
Afterwards, select the current stable branch with git checkout 0.15.1 [this will change in future, so adapt it accordingly] ->> git branch shows you all available branches”
And unfortunately the two steps mentioned above still give the same error. Any other ideas? There’s a “master” branch and a “0.15” in their github.
Thanks!
there is a “cd bitcoin” missing just between the git clone and the git checkout 🙂
Cool tutorial but could be improved by replacing code blocks by non-utf8 quoted code… wasted a few hours (yes, on a raspberry pi 0 it takes that long) figuring out all the incorrect – flags and non quotes quotes 🙂
I am using torrent to download the blockchain, I have 250G what time I need to finish?
You should never download the blockchain from another source but instead let your own full node sync it.
Thank you very much for this great tutorial! Just used it on my Raspi 4 and it worked like a charm.
Only when copy-and-pasting I had to manually change a few of the quotation marks ” , and some of the dashes – into double-dashes –.
Also the getbitcoinblockchain torrent site seem to be out of date.
Cheers!